Why our canvas prints are premium photo products
February 11th, 2017
History of canvas
Stretched canvas has always been a medium of choice for painters in modern times. However it wasn't used until the Renaissance period particularly the 16th Century in Venice. Before this paintings had been completed on wooden panels but these presented a problem. The damp climate of Venice caused breakdown of the wood over time thus a new material was needed which would stand the test of climate and time. The solution was properly prepared canvas stretched over a wooden frame thus changing the way oil paintings were completed by artists.
The solution was properly prepared canvas stretched over a wooden frame thus changing the way oil paintings were completed by artists.
Why we use the Wunderbar stretcher bar system for our premium canvas prints
Wunderbar (http://www.wunderbars.com/) is a patented stretching system using spring loaded corners which give constant tension when used to stretch a canvas print. It is different to a standard canvas which we can also supply. In a standard canvas print, the canvas is stretched, tensioned and then wedges are hammered gently into the corners to hold the tension. Over time, the canvas can loosen due to changes in climate and thus require readjustment which can be problematic if you're not used to doing it. We fit the Wunderbar system of bars as we can stretch the canvas and tension it all within 30-45 minutes of the order being placed. The final product need not be adjusted again during its long lifetime. To show the method of how our Premium canvas prints are assembled we have a "How to" as part of this article.
How we assemble a stretched canvas
Tools needed:
An piece of thick cloth - we use an old curtain to place on the bench to protect the canvas face
Staple gun either manual or pneumatic
Peening Hammer
Pliers to remove wrongly placed staples if needed
Scissors to cut canvas to size and trim excess material
Craft knife
Framers tape
Stretching the canvas print

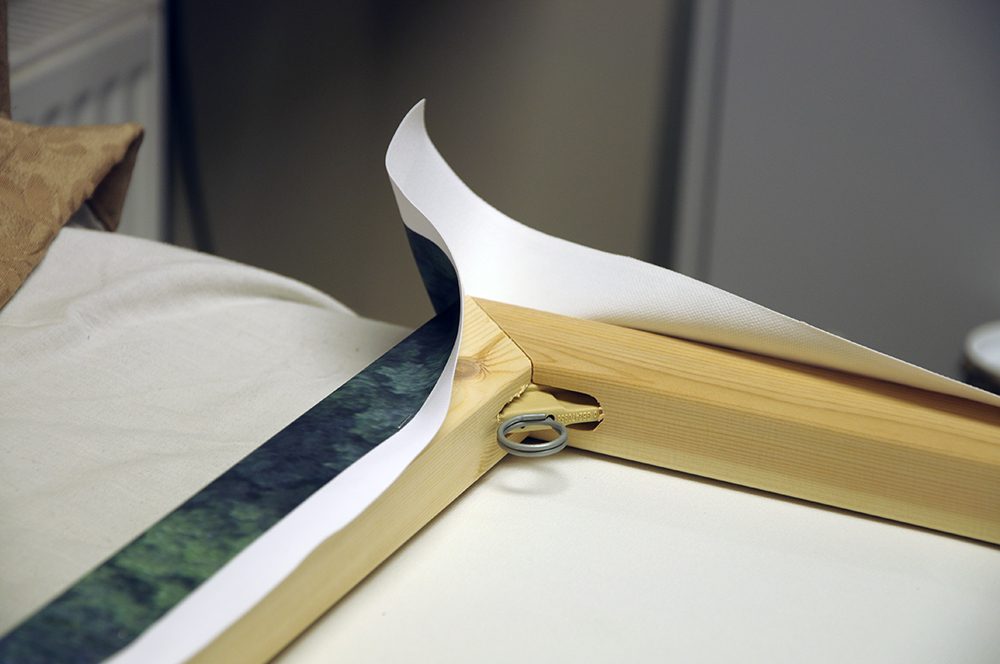
First we lay down the print and frame making sure that it is evenly sat for pinning
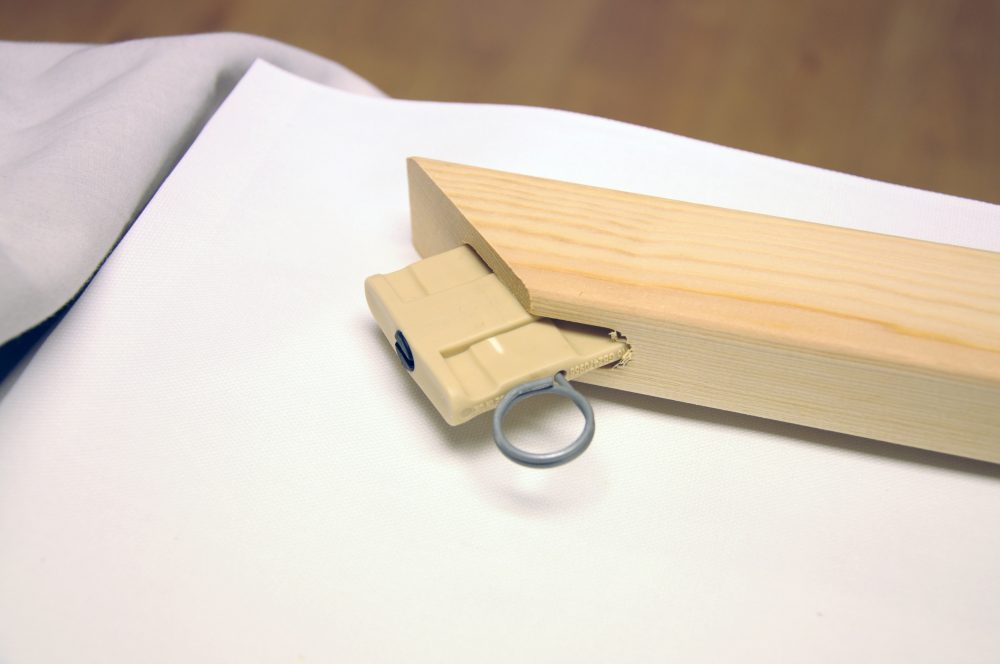
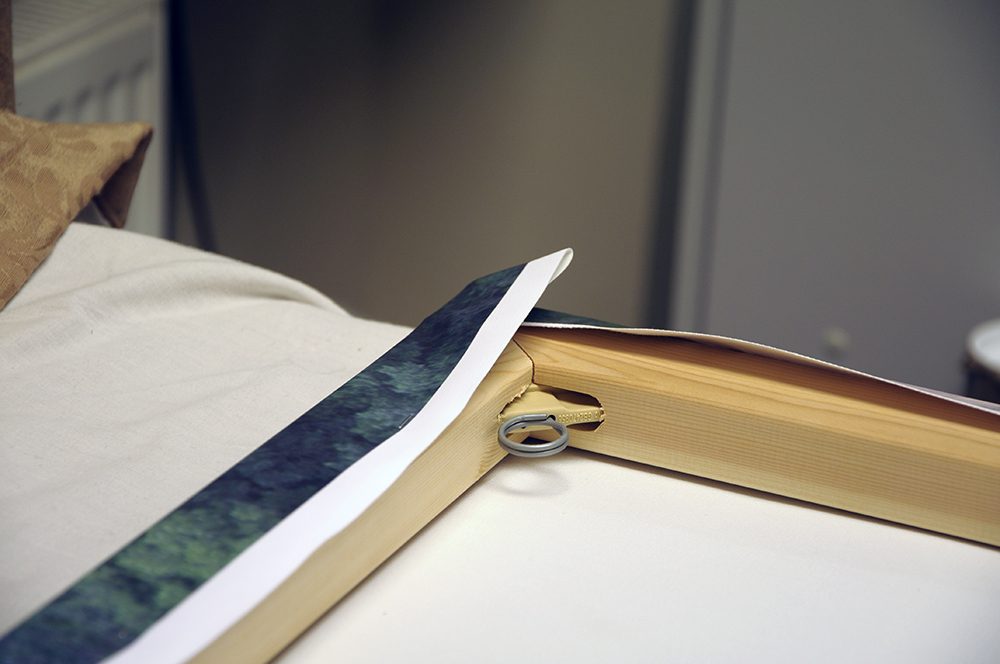
Each Wunderbar stretcher bar has a spring loaded corner which fits into a gap in the next bar
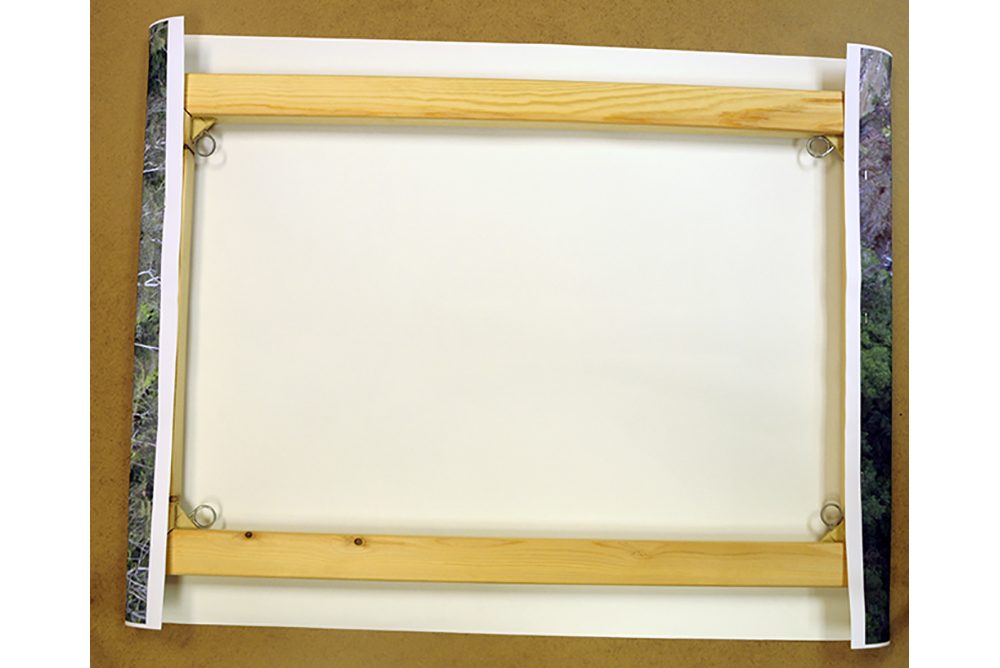
Once the frame is lined up, staples are placed in two opposite ends of the canvas frame to tension it
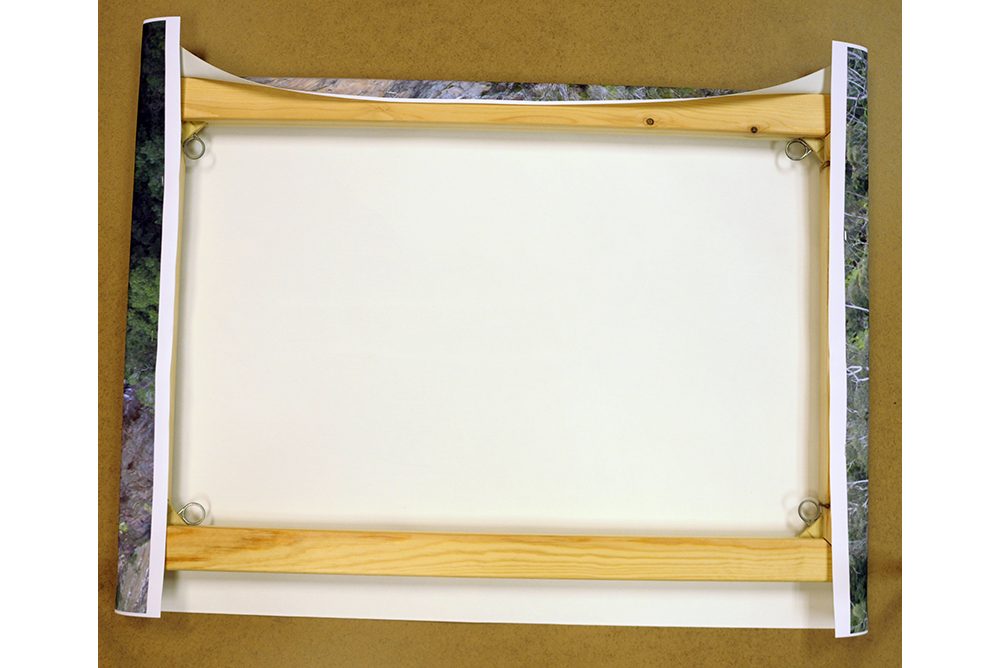
After this the other two sides are pinned first one side
The opposite side is pinned. The corners are left to be folded at this stage
This is called a 'pig's ear' due to it's shape and needs to be folded over
Here is the same corner after folding
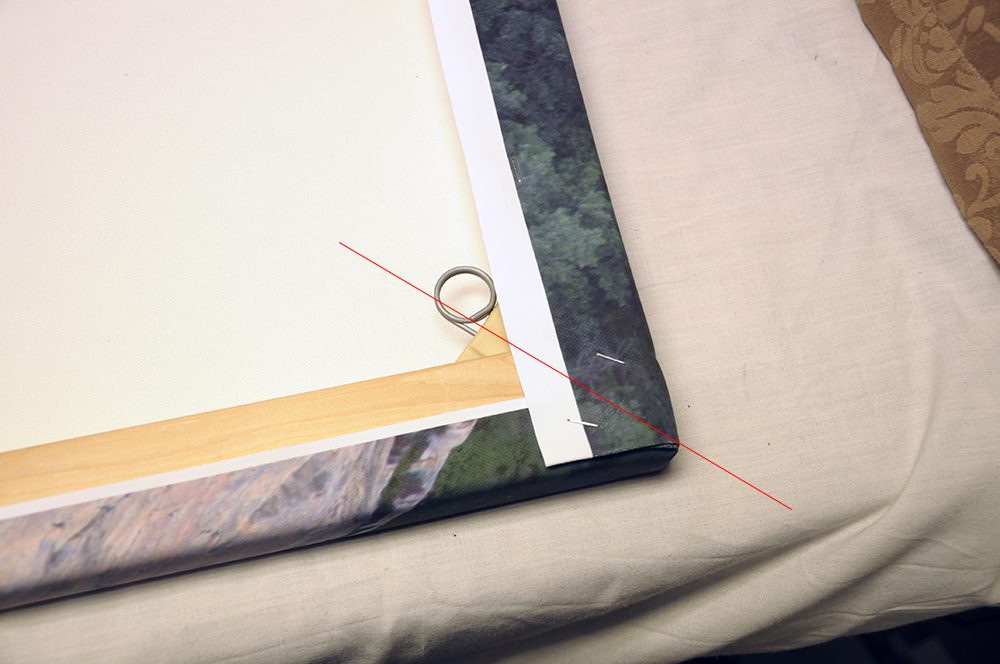
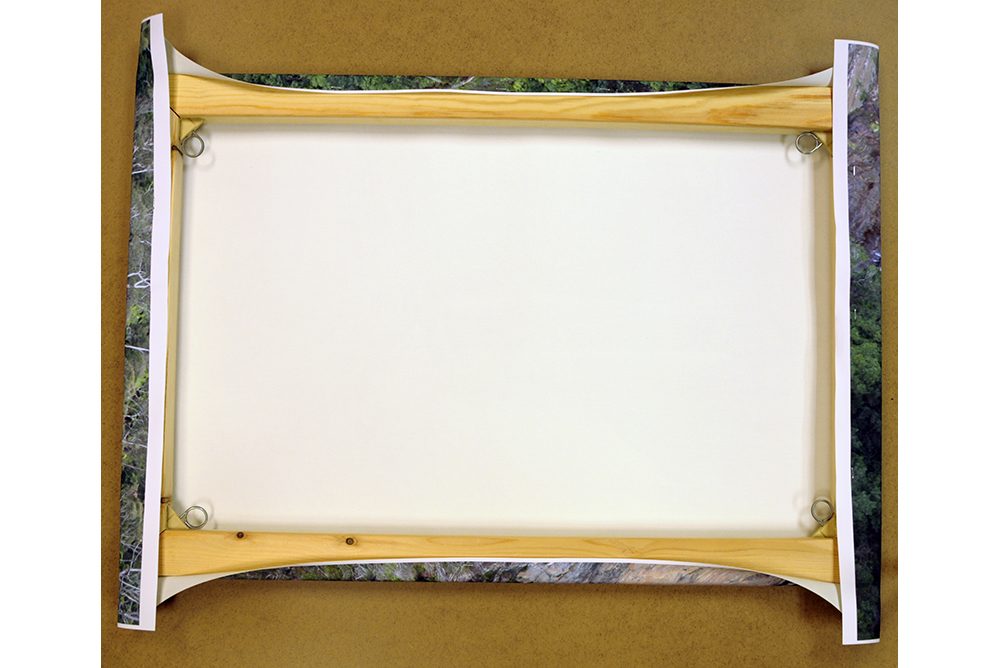
Here the red line shows where the bars meet and where the corner is stapled to allow the spring tensioner to move
All four corners are folded to make the canvas look tidy from the back and the front
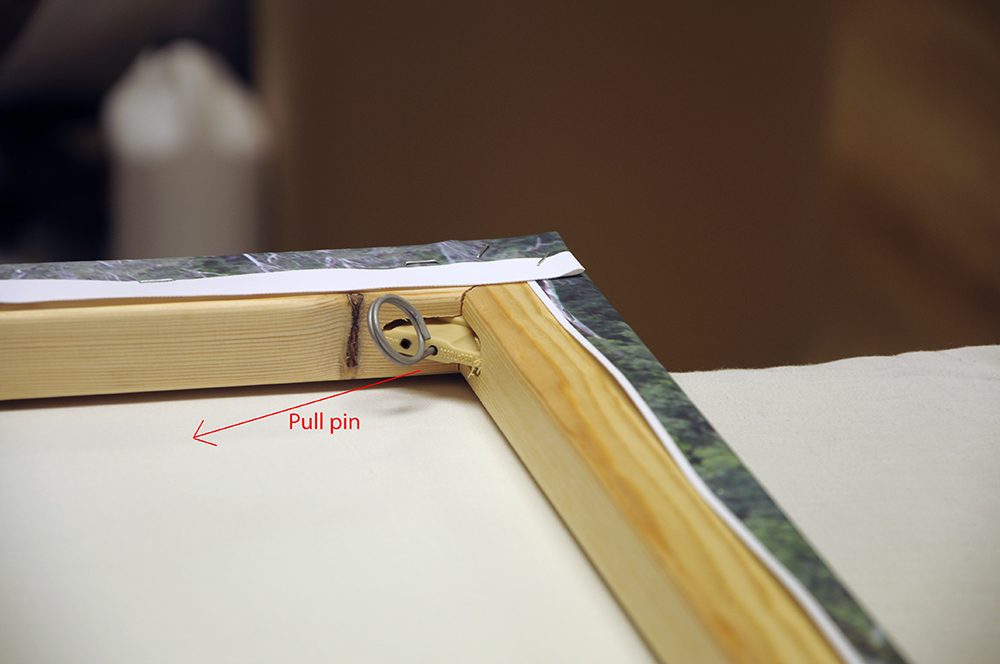
Once tensioned, the pins are release by pulling the pin as shown. This is done in all 4 corners
Taping our premium canvas prints

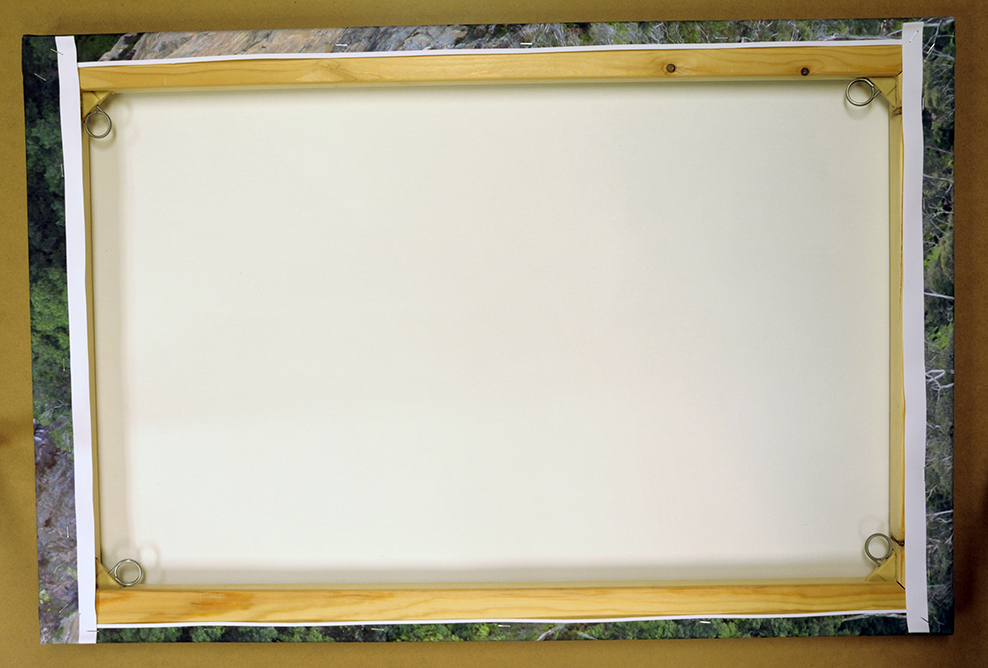
Once the tensioners are released the canvas is taped at the back. This makes it look tidy and stops scratching of walls by the staples
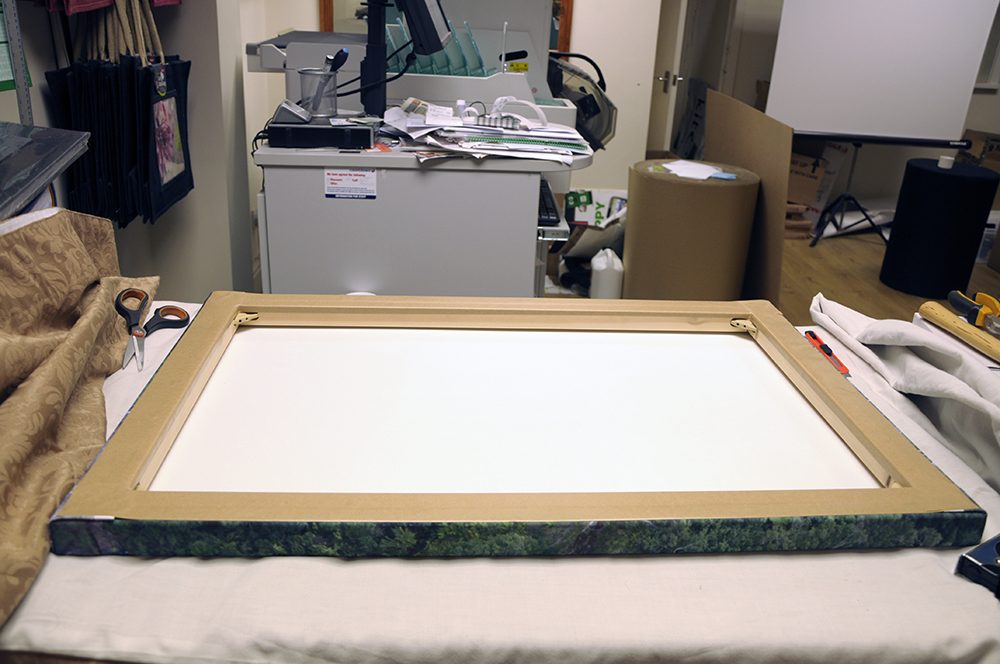
The complete canvas is taped from the back. The craft knife is used to cut the overlap to make the corners look tidy.
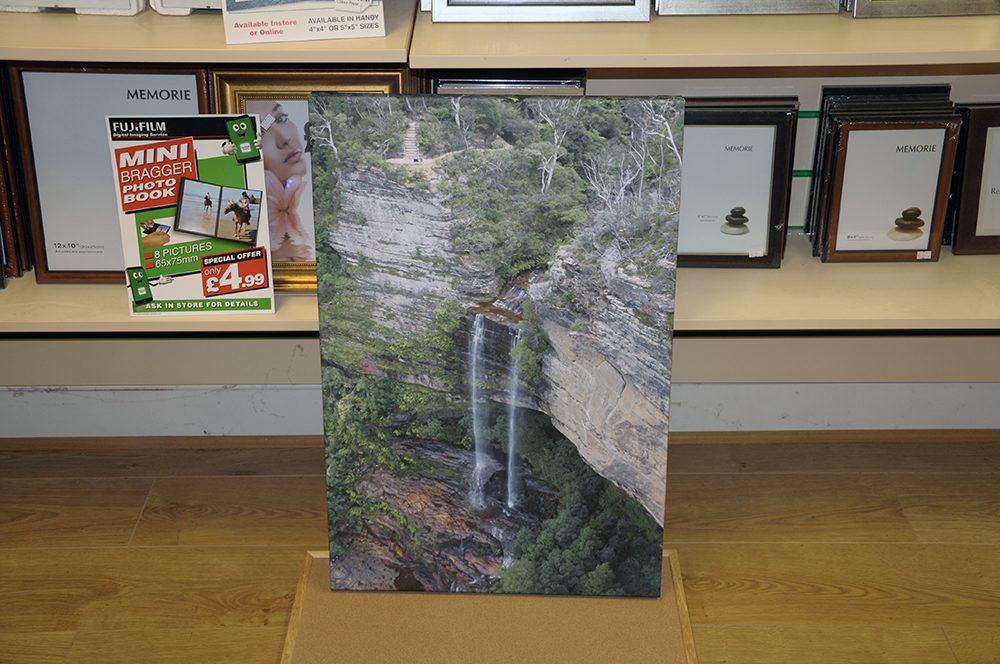
The final completed Premium canvas print completed for a customer.
This shows just one of the products that we can supply to you. If you would like to buy some high quality canvas prints then please come and see us on Westfield Street and bring your photos